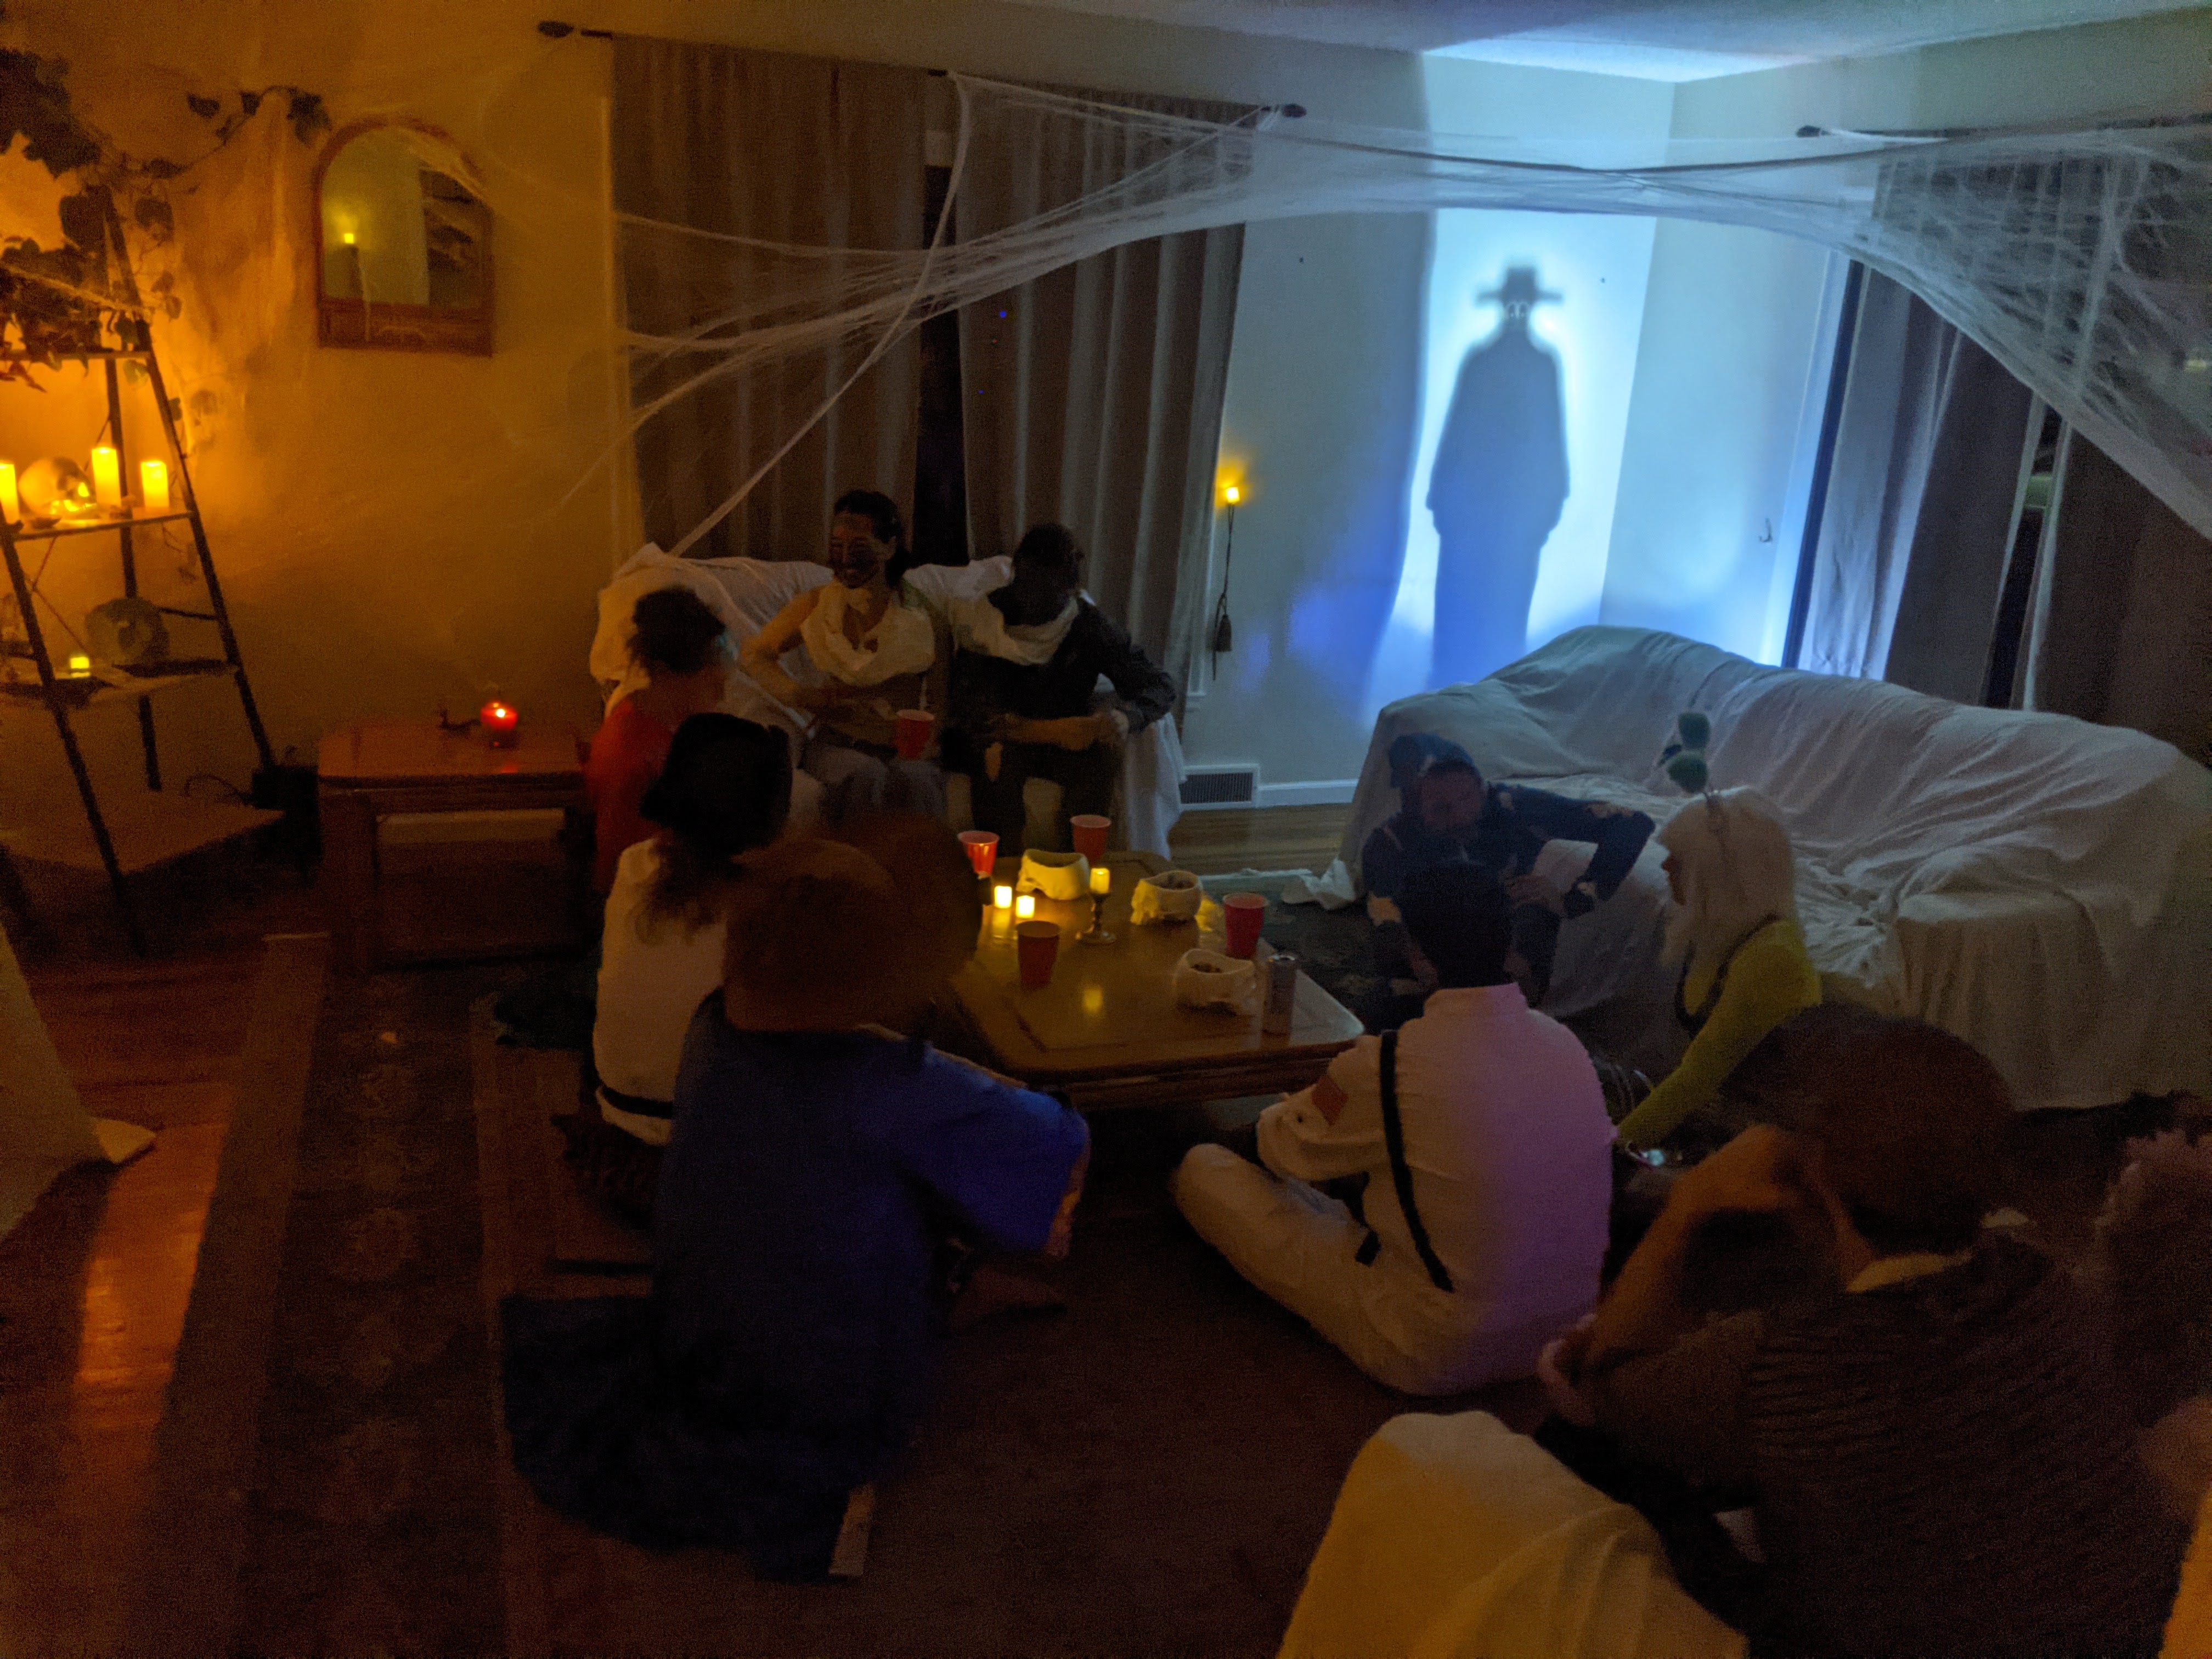
The Doorman
Halloween has always been my favorite holiday. Every year, Halloween goes by and I regret not going "all out." This year, armed with a 3d printer and a box full of Raspberry Pi components, I figured this could be the year.
I decided to utilize some of my animatronics and fabrication skills to decorate the house. I found The Doorman on Thingverse uploaded by user Tjhazi.
The first thing I had to do was print each individual part of The Doorman. This included the mask, the eyeballs, the eyelids, and the fixture for the motors. There were also a few miscellanious support pieces to hold it all together. I am still realtively new to 3d printing, so it was a challenge to work on a project where the tolerance and accuracy of prints mattered.

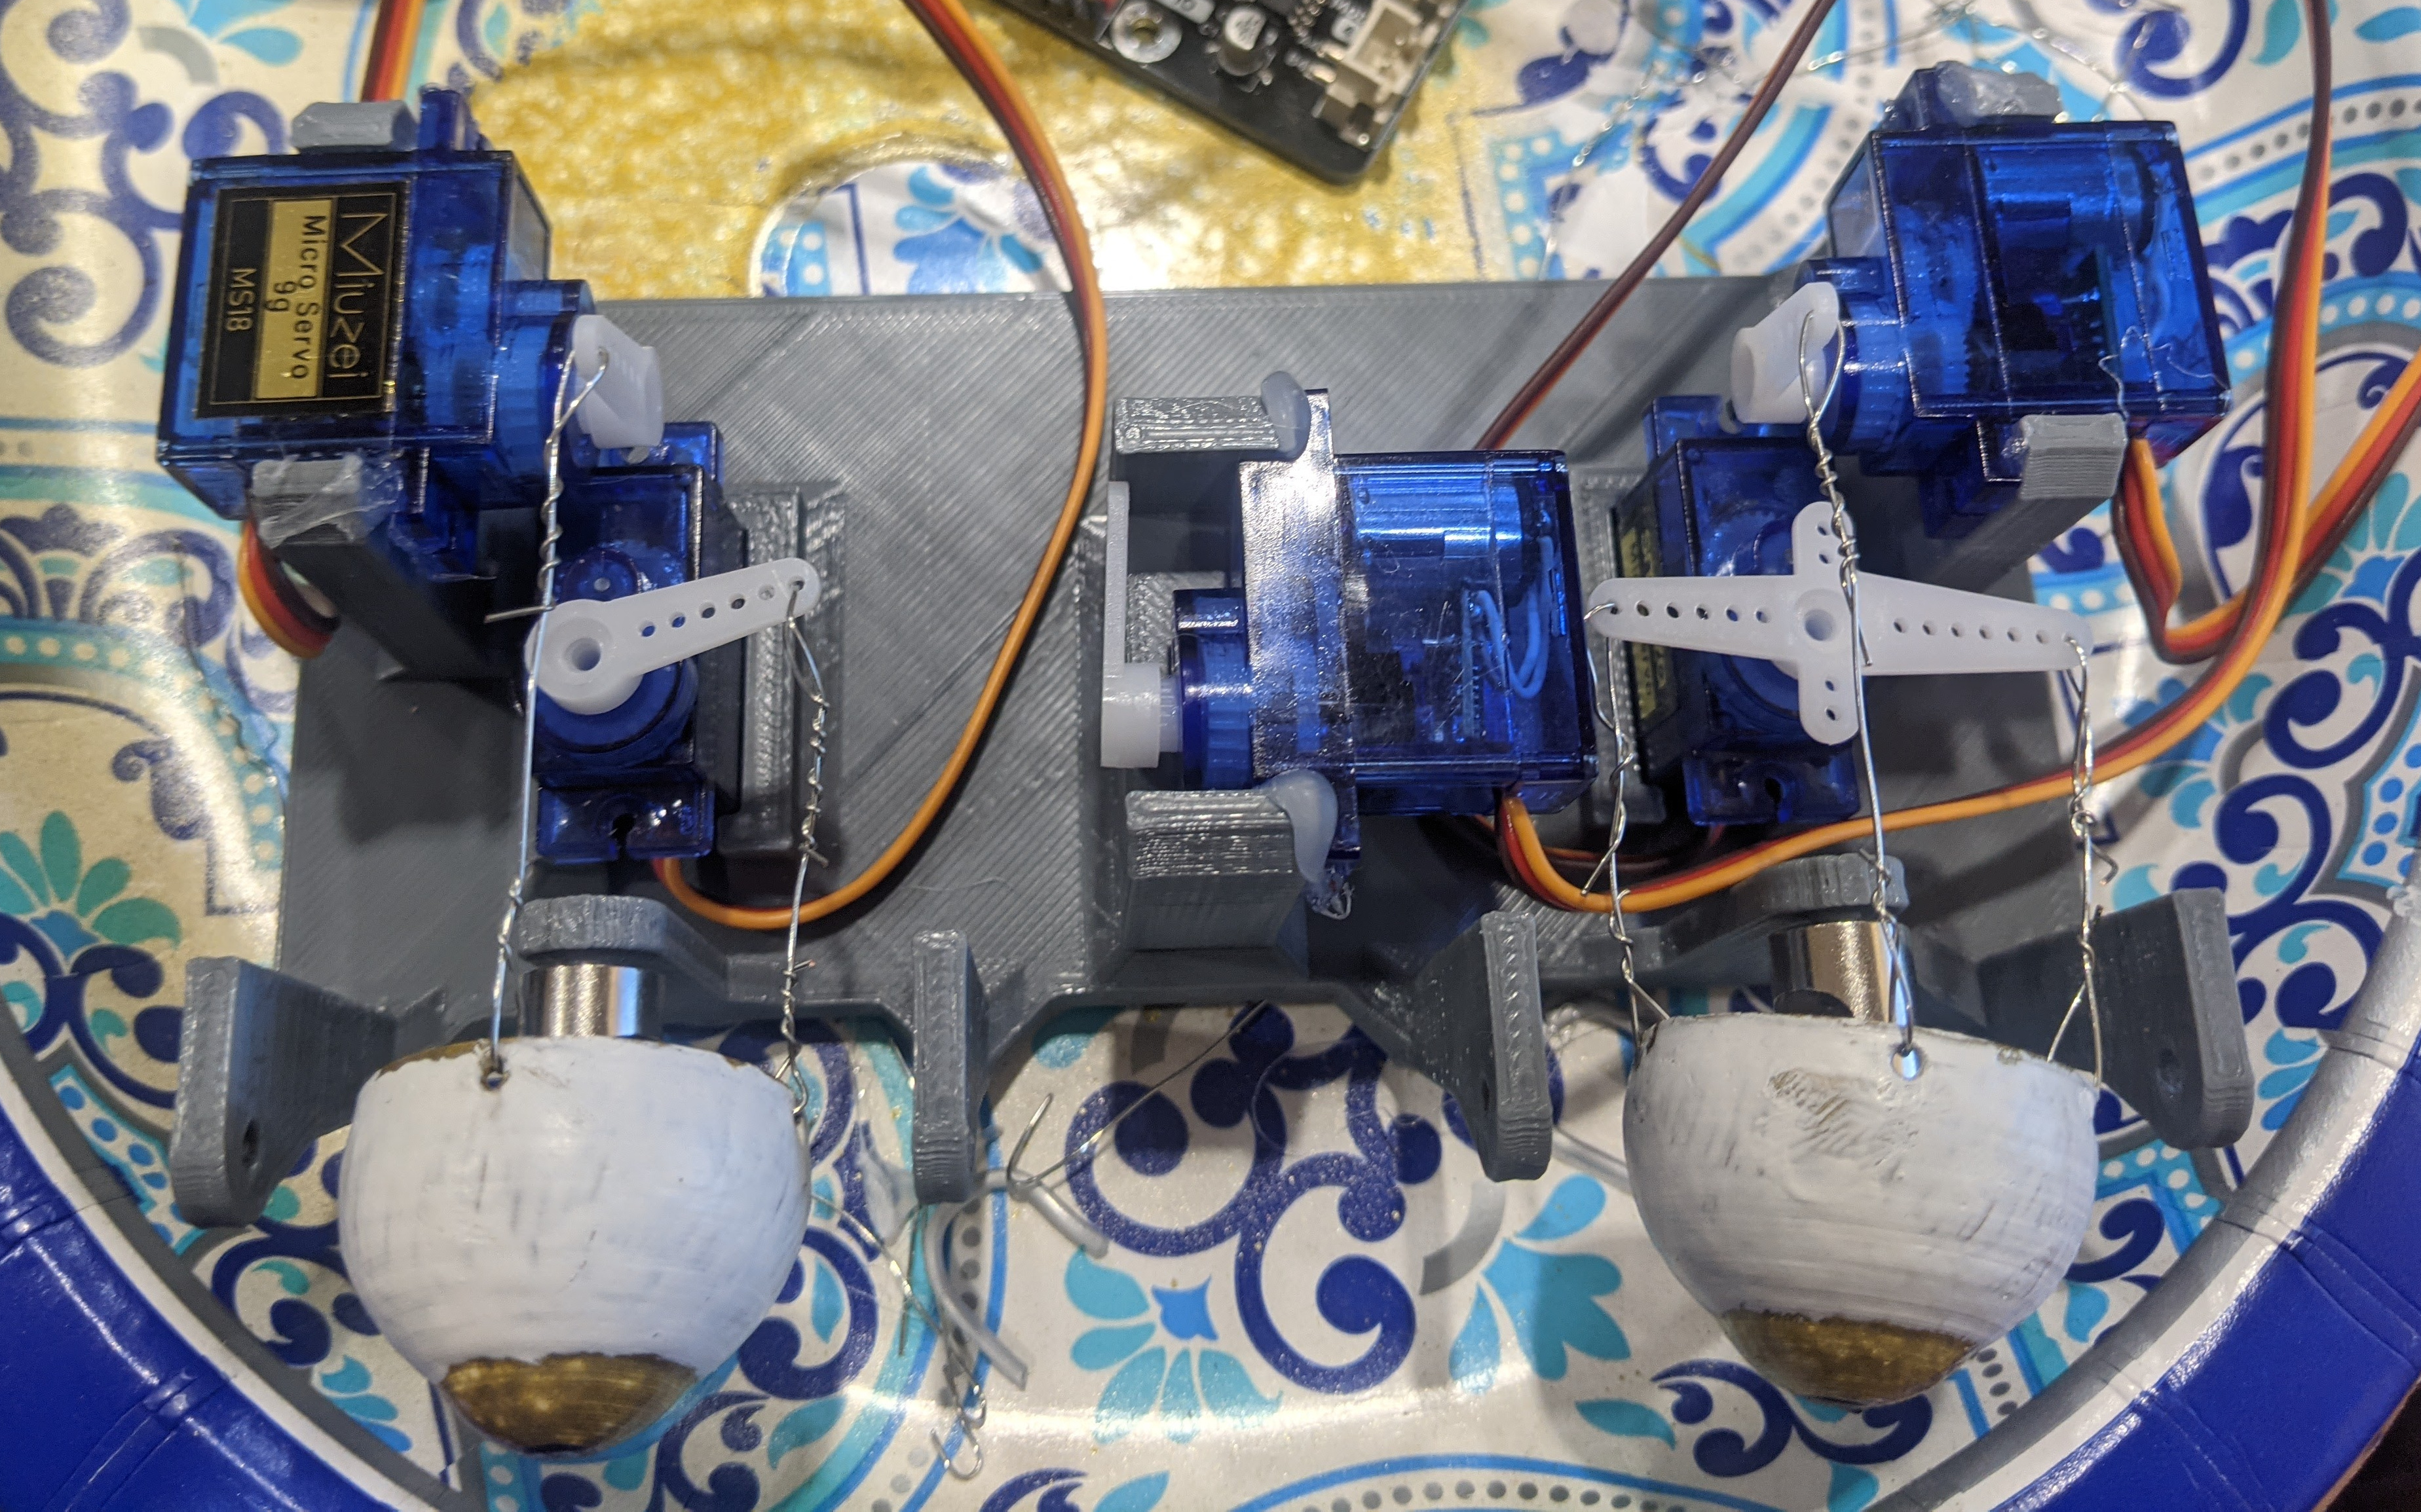
The most challenging step of the build was setting up the fixture and motorizing the eyelids and eyeballs. The eyeballs took a lot of fitting, testing, and refitting to get them working properly. The strain of this process eventually required me to reprint the fixture for the components, because it started to weaken and break with the constant adjustments. Next time I think I will print these parts with a stronger material, such as petg.
Even though it was a challenge to set up, its a very cool component that I could reuse for future animatronics projects.
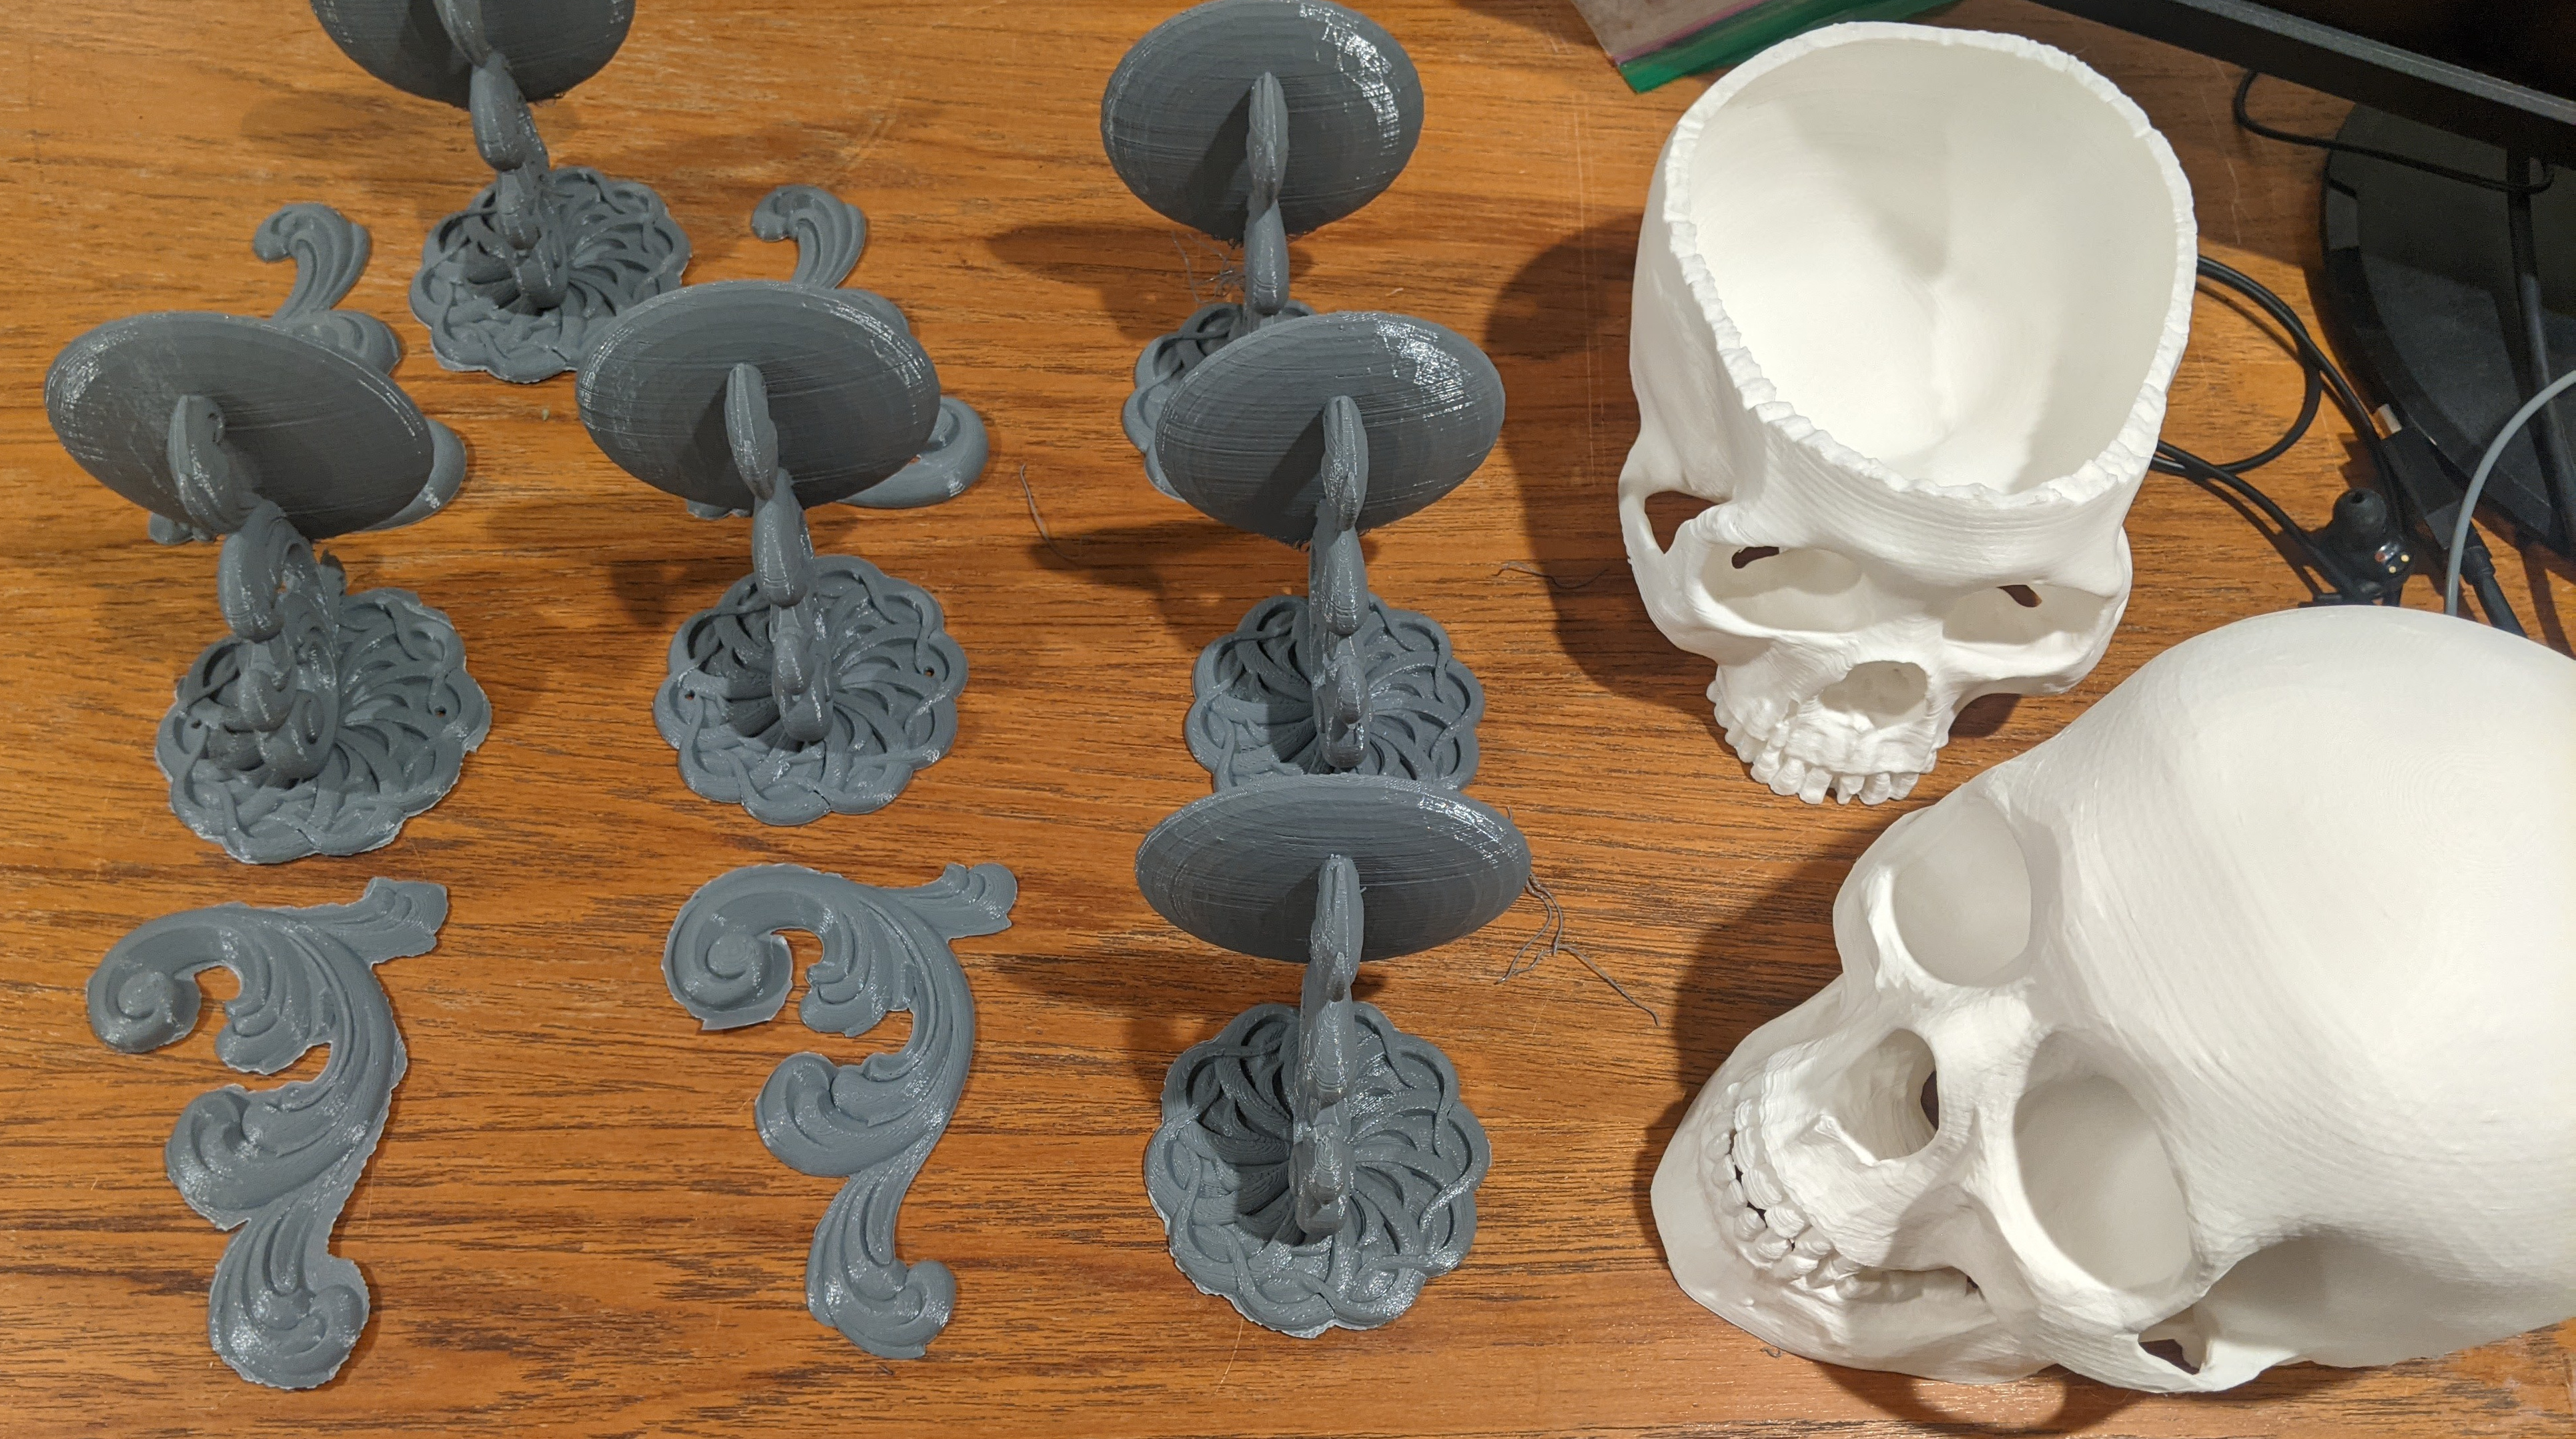
In addition to The Doorman, I also printed several skulls, wall sconces, and candlesticks. These were a great, easy addition for enhancing the spooky vibe, especially with a little metalic gold spraypaint and some LED candles.
I also printed some flat, shadowy figures and placed them around the house and in the yard, casting their shadows with headlamps. Overall I was pretty pleased with the atmostphere we were able to create with just some 3d printer filament, some spray paint, and a few electrical components.